EQUIPMENT RECOMMENDED IN THIS VIDEO:
High Quality Microphones - https://bhpho.to/2FMmdg7
XLR Microphone Cable - https://bhpho.to/2Fzia6x
Behringer UMC22 (Affordable Audio Interface)- https://bhpho.to/2FyMr5A
Steinberg UR22mkII (More Expensive Audio Interface)- https://bhpho.to/2FyNvq6
Microphone Pop Filter - https://bhpho.to/2FumyUc
Desk Microphone Arm/Stand - https://bhpho.to/2FzN6DL
Get your own Acoustic Foam: https://arrowzoom.com/collections/pyr...
(Use AZ-HOW for 10% Discount Code on arrowzoom.com:)
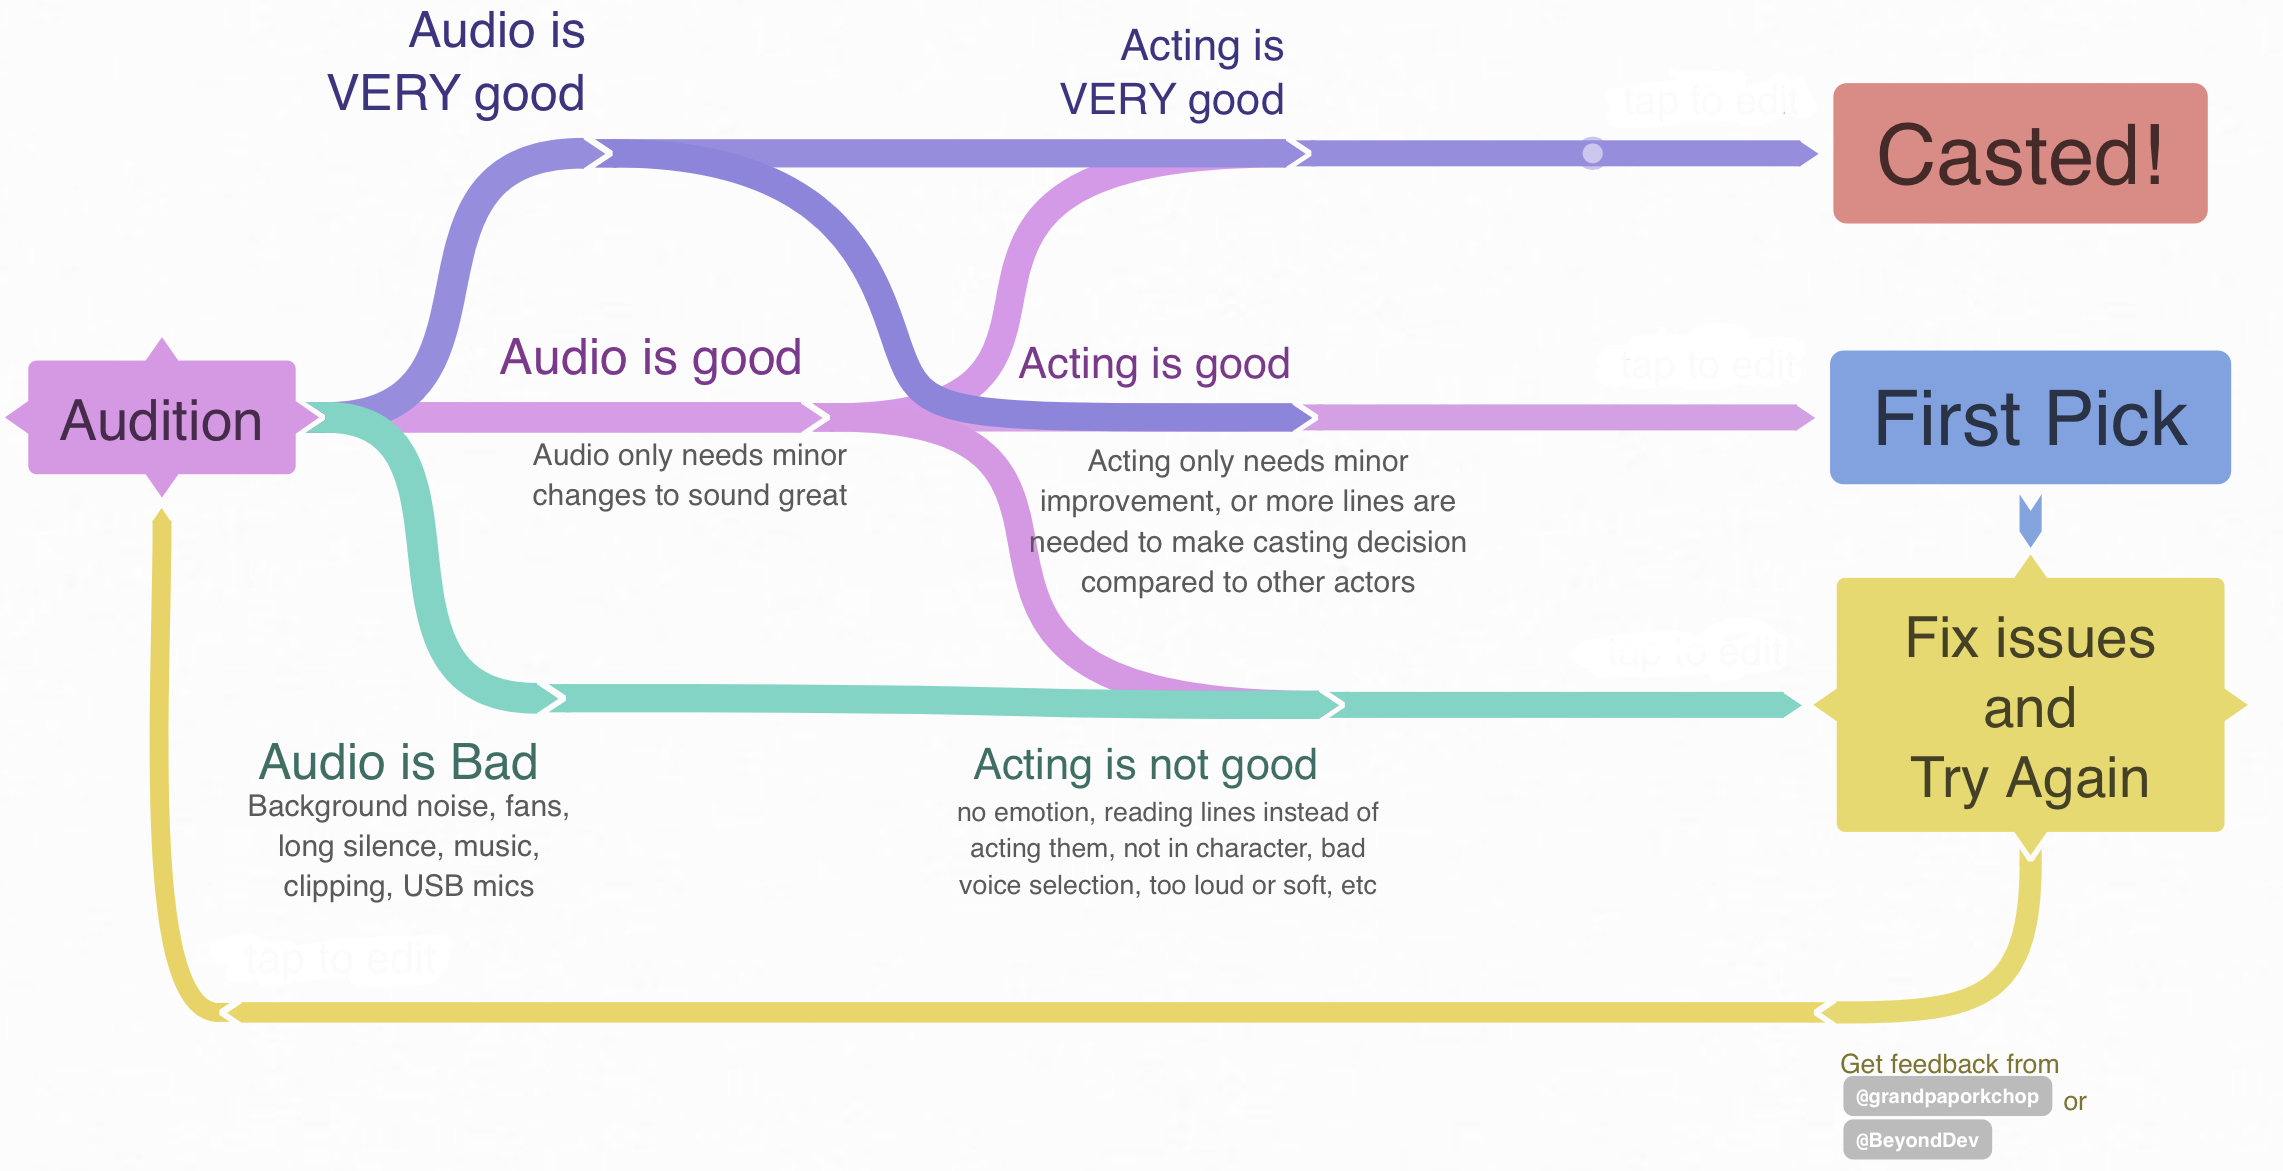
The essential components of a voice-over studio are:
There are a few different kinds of microphones that people use to create voice-overs.

Pros:
Cons:

Pros:
Cons:

Pros:
Cons:
Some mics require a little flow of electricity in order to operate. This little flow of electricity is called “phantom power.” It’s a feature that’s commonly found on computer audio interfaces. Using phantom power isn’t complicated, and you shouldn’t be intimidated by it.

The best way to connect a professional 3-pin XLR microphone to a computer is to use an audio interface. An audio interface is an external piece of hardware that connects to a computer via USB, FireWire, PCI or Expresscard. Many audio interfaces feature dedicated XLR microphone inputs, headphone outputs and other jacks and controls that come in handy for recording voice-overs. You can learn everything you need to know about computer-audio interfaces in this B&H Buyer’s Guide.
Plugging a microphone directly into a computer audio interface will get you a clean, flat sound--and depending on the interface it can allow you to control gain, sensitivity, input, mixing, and more. Because audio interfaces contain a large, dedicated Analogue-to-Digital Converter (ADC), they have a much better noise floor (Signal-to-Noise Ratio) than the tiny ADC's in USB mics (which have a noticeable hum from electronic noise alone, not to mention heat, ambient noise, and more). When it comes to ADC's, the bigger the better, becasue the internal circuitry (which is sensitive to vibrations), is less prone to unwanted electronic noise if it has more mass and therefore more resistance to changes in momentum caused by magnetic disturbances from parasitic capacitances and inductive couplings in internal circuitry. Moral of the story: an XLR with an audio interface easily outperforms a USB mic with a small ADC integrated curcuit.
However if your goal is to create the best possible quality for broadcast voice-overs, you can improve your sound even more by plugging your mic into “outboard gear” before you connect it to a computer audio interface. Outboard gear is external hardware that enhances the overall sound of a microphone. USB microphones cannot be used with outboard gear. This increases the price for beginners, so outboard gear is not totally necessary until you're serious about a voice acting career.

There are many different varieties of outboard gear available, but for recording voice-overs you’ll mainly be using microphone preamps, dynamics processors and channel strips. A high-quality microphone preamp will have a much cleaner sound and the ability to bring out appealing sonic characteristics of a microphone. Dynamics processors (compressors, expanders and limiters) help smooth out an audio signal so it sits nicely in a mix. A channel strip combines a microphone preamp and dynamics processors into one box. Some channel strips are designed specifically for vocals, and include special tools for voices, such as “De-essers,” which make them ideal tools for creating voice-overs.
A De-esser is designed to suppress harsh sounding sibilant sounds. When an “S,” “Z,” or “Sh” sound gets too loud in an audio signal and passes a set threshold, a De-esser singles out the problematic frequencies and makes them quieter so they’re not disruptive and unpleasant sounding.

Voice-over microphones are very detailed sounding and do an outstanding job of bringing out the rich textures and nuances of a voice. However, one downside to using such sensitive microphones is that they also pick up unpleasant-sounding sibilant and plosive sounds. Words with the letter “P” sometimes make a popping sound that can overwhelm the microphone capsule. Words with the letter “S” sometimes create a short, yet strident, harsh hissing sound. The easiest and most effective way to eliminate these problems is to avoid recording them in the first place by using a pop filter.
A pop filter is a small screen that attaches to a microphone stand with a clamp. A short gooseneck runs from the clamp to the screen, so you can position it a couple inches in front of the microphone capsule. The screen diffuses rushing air created by these problematic plosive and sibilant sounds. The screens themselves can be made of a metal, or a foam-like fabric which is often mistaken for pantyhose.

If your voice talent is going to be sitting at a desk or at a table during the recordings, then your best choice may be a desk stand or a studio arm. A desk stand is a compact, table-top version of a microphone stand. A studio arm is a balanced, articulated boom arm that can mount to a desk or a table with either a removable clamp or a permanent stud. Studio arms make it easy to quickly reposition a microphone without creating noise.
If your voice talent prefers to stand while they work, there are numerous microphone floor stands available. Taller floor stands with boom arms are recommended. The boom arm will give you more options for positioning the microphone.
A shockmount is a small suspension system that prevents a microphone from picking up unwanted handling, vibration and rumbling noises. It mounts on the end of a microphone stand and holds the mic. A shockmount suspends a microphone with rubber or elastic bands (or utilizes similar kinds of suspension systems), which eliminates most of the vibration and handling noise the mic would otherwise pick up. The kind of shockmount you need depends entirely on what kind of microphone you’re using. Sometimes shockmounts come as included accessories when you purchase a microphone.
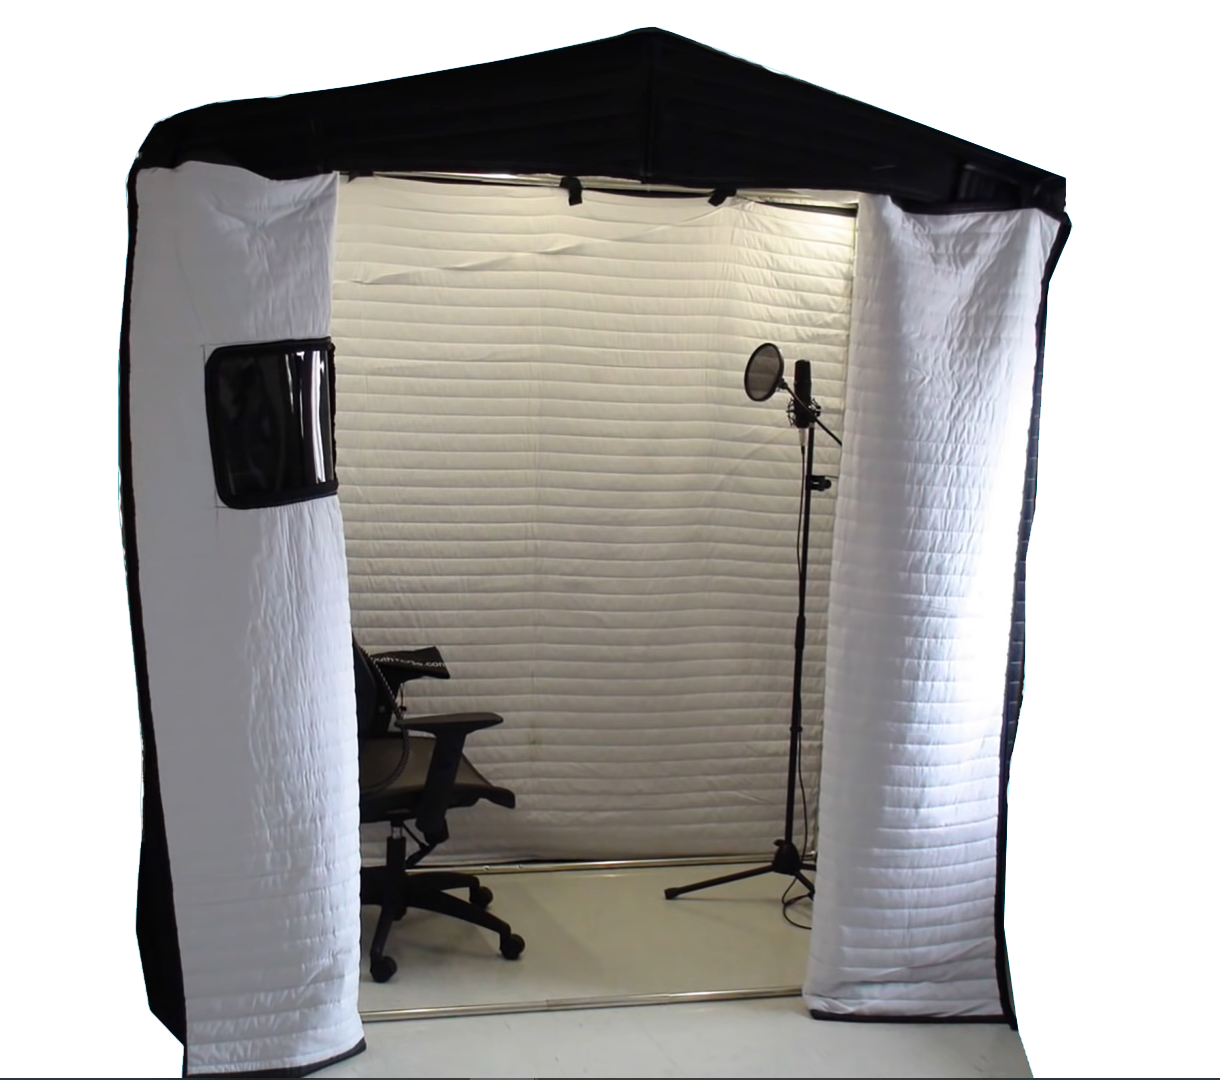
Professional recording studios usually have a specially designed vocal booth that enables the engineers to record neutral sounding vocal tracks that are free of room ambience. Hard surfaces (such as desktops, walls, floors, and ceilings) tend to reflect sound and send it bouncing around a room. Rooms with long corridors and odd shapes only compound the problem. You probably don’t notice sounds bouncing around your room in normal everyday life, but when a sensitive microphone is used to record a voice, and that voice is taken out of the context of the room and placed over video footage, suddenly the ambience of the room sticks out like a distracting, sore thumb.
The best way to control room ambience is to use sound-absorption material and baffling while you record. One of the most cost-effective ways to cut down on room ambience is to hang a duvet around your recording space. A general rule of thumb for beginners who want to be careful with money is to utilize things you already have to improve your recording. Some people even record in their walk-in closets. The video below goes over some potentail ways you use materials you already own to create a vocal booth.
Another way to cut down on room ambience is to place acoustic paneling in key points around the room in which you’re recording. There are different-sized acoustic panel kits available (some of which include bass traps and adhesives) for various-sized rooms. These products are designed solely to control room ambiance. They won’t make your studio any more soundproof than it already is, nor will they prevent exterior noise from leaking into your workspace.

It’s necessary to wear headphones when recording voice-overs because you don’t want the microphone to pick up sound from your speakers. It’s important to record in a quiet room, and headphones make it possible to listen to the video playback without speakers. If you record voice-overs with speakers on, the sound quality will decrease dramatically, and you run the risk of creating a feedback loop and damaging your hearing and equipment.
The best headphones to use for recording voice-overs are Closed-Back, Circumaural headphones. As the name implies, the back of the ear cups on closed-back headphones are solid, which prevents sound from leaking (and thus less unwanted noise will be picked up by the microphone).
Yes, it’s possible to provide a headphone feed for more than one person, and there’s a much better way to do it than using an inexpensive splitter cable. You can set up for multiple users with a headphone amplifier, which enables you to turn a single headphone jack from an audio interface or a computer into several headphone feeds. One of the advantages of using a headphone amplifier is that you can lower or raise the volume independently in each set of headphones. This way, if you have an engineer and three voice talents working together, each person can have a different volume level that’s comfortable for them.

Instead of plugging your computer into regular computer speakers or a home stereo system, you’re far better off using studio monitors. A good pair of studio monitors will give you an accurate idea of what your recordings and overall audio mix sound like. Consumer speakers (like the ones found on iPod docks and stereo systems) tend to hype certain frequencies to make them sound more appealing. Studio monitors provide a flat frequency response with equal representation given to all frequencies (no frequencies are hyped). This way you can hear exactly what’s been recorded, and make informed decisions on how to properly balance your sound mix.
This depends on what kind of software you’re most comfortable working with. Many video-editing programs have dedicated voice-over tools that enable you to record sound directly into your video projects. There are also many audio-production programs with video capabilities that enable you to import video files so you can create elaborate sound mixes and sync them with the moving images.
We highly recommend audacity, as it is open source, free, powerful, and has a lot of online tutorials and resources to help beginners get started.
The five following steps will help enhance your voiceover recording: (demonstrated in Audacity, but the same principles can be applied in other programs as well.)
Step One - Noise Reduction
Noise Reduction can reduce constant background sounds such as hum, buzz, and hiss noises, that were not or could not be eliminated before recording. It is not suitable for individual clicks and pops, or irregular background noise such as from traffic or an audience.
Step Two - Compressor
The Compressor Effect reduces the Dynamic Range of your audio, by compressing, or turning down the louder parts. This allows your audio to be amplified without clipping the louder passages.
Step Three - Limiter Filter
Whereas the Compressor Effect is used to compress the louder passages in your recording, the Limiter Filter focuses more on boosting the quieter part more then the louder passages.
Step Four - Equalizer
Equalization is a way of manipulating sounds by Frequency. It allows you to increase the volume of some frequencies and reduce others. There is NO right way to equalize a voiceover clip, but there’s definitely a wrong way. Everyone’s voice is different, so there is no standard way to equalize voice.
Step Five - Normalize
Normalizing Audio applies a constant amount of gain to the audio recording to bring the peak amplitude to a target level. This should always be the last step in your audio workflow for the effect to work properly. Without the dynamic compression achieved with the Compressor Effect and the Limiter Filter, the peaks in your waveform would prevent enough gain to be applied to the softer passages.